To reduce the maintenance requirements in lawns, gardens, and backyards, artificial grass is an ideal option. In this article, we have described the complete procedure in multiple essential steps to install artificial grass. However, the proper artificial grass installation, including the careful installation of the grass, requires technical experience and some necessary tools.
How To Install Artificial Artificial Grass | A Complete Procedure
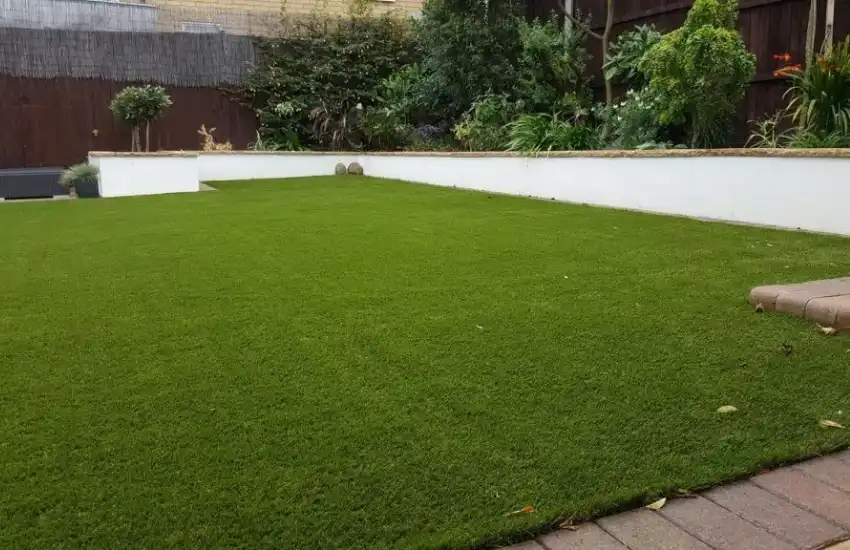
The use of artificial grass to cover lawns, backyards, indoor gyms, and play areas is gaining potential day by day in the UAE. This grass unlocks new horizons such as it can withstand harsh weather, requires no maintenance, and saves your water and electricity. The artificial grass installation is not a difficult DIY project but it requires precise skills and experience. For this DIY installation method, Dubai Artificial Grass has enlisted some necessary tools and materials.
Supplies That You Should Require
- Carpet Cutter
- Putty Knife
- Hammer
- Measuring Tape
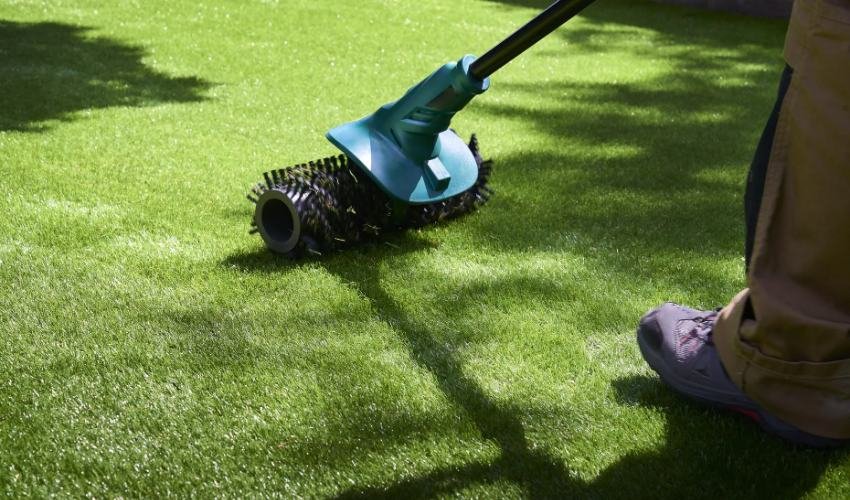
- Power Broom
- Landscaping Rake
- Rototiller
- Carpet Stretcher
- Weed Barrier
- Plastic Bender
Step 1: Preparation of Surface Area
We’re going to start the installation of artificial grass Dubai with the most important step– the preparation of surface area. For surface area preparation, you need to remove any existing herbs, shrubs, weeds, and other vegetation. You can retard their growth by spraying any quality weed-killer solution. You should spray this solution 2 weeks before the placement of this grass because the solution takes time to kill the weeds and other shrubs completely.
Read Also: Keep Artificial Grass Cool In Summer
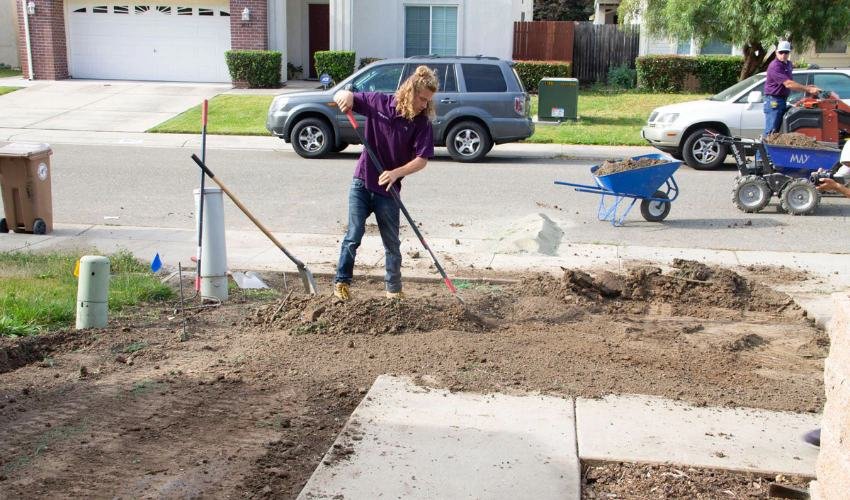
Step 2: Removal Of Soil Topmost Layer
After eliminating the weeds, the second step is to remove the soil’s topmost layer for its fixing. While removing the soil layer, dig up at least 3-4 inches of soil to prepare an appropriate base layer. To dig up the soil, use a heavy-duty rototiller for quick and smooth surface preparation. Besides soil, excessive vegetation can also be removed with this tool. After removing the utmost layer, press the remaining soil with a hand tamp to make this surface compact and leveled.
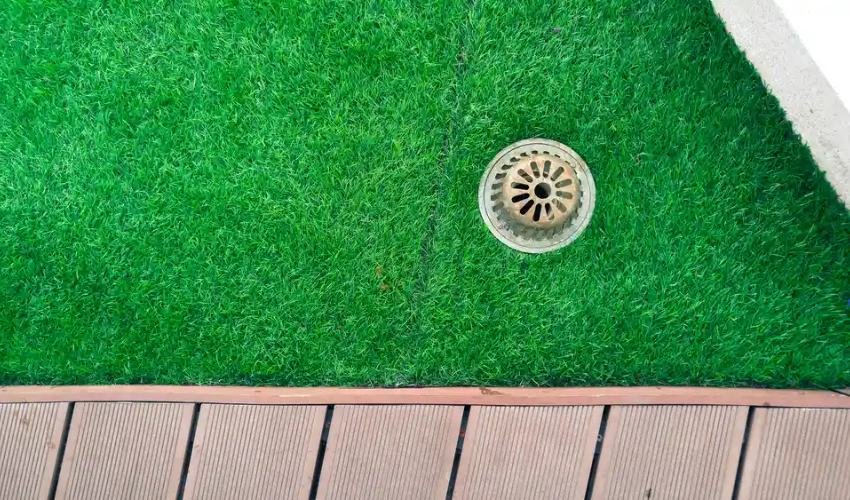
Step 3: Craft A Hole For Drainage
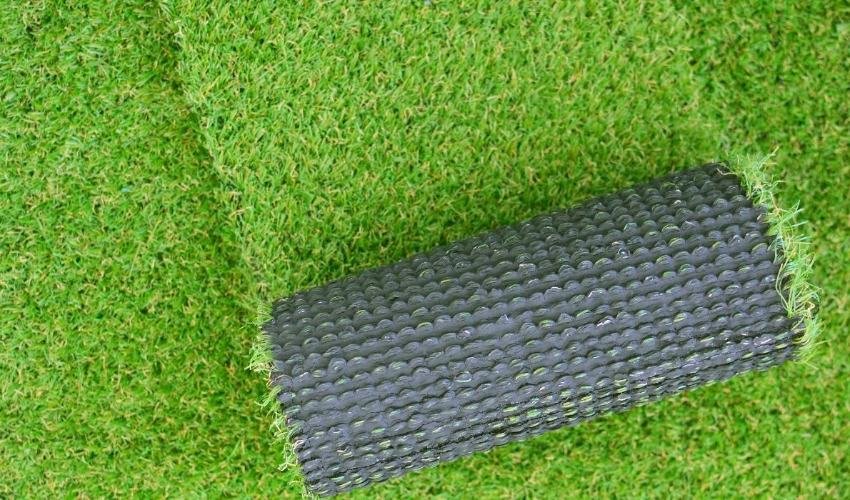
Artificial turf requires a proper draining system, and you should always remember this to avoid inconvenience after grass installation. The blades or turfs of grass can penetrate the water due to their porous surface texture. If you place this grass on any hard surface that has no proper draining system, the water can accumulate on the grass layer. In case of rainfall, you will experience a troublesome situation due to heavy water accumulation that can ultimately reduce its durability.
Read Also: Common Artificial Grass Installation Mistakes
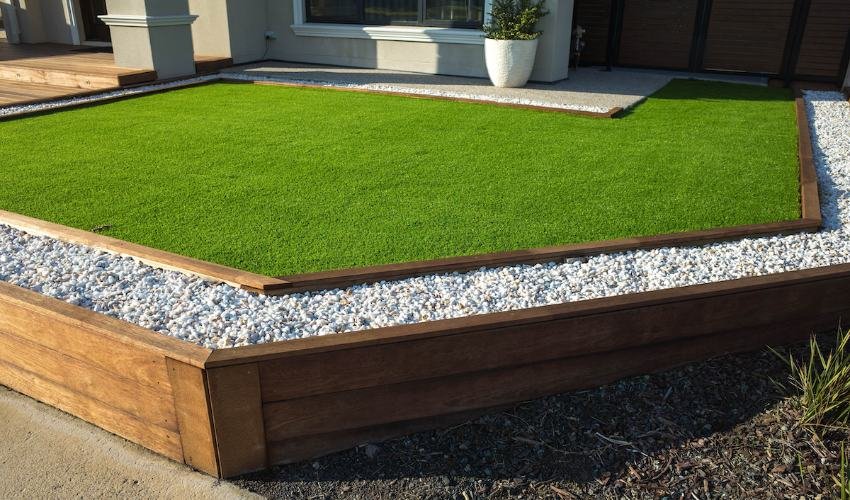
Step 4: Install Border Around The Grass
After crafting a drainage hole, the next step is to install the border at all sides of this grass to prevent displacement. For long-lasting border placement, use a plastic bender board. Implementing this practice ensures the firm attachment of the carpet on the installed surface area without any protrusion. Make sure that the border is not blocking the water drainage. However, you can also place concrete tiles around the grass carpet to enhance firmness and durability.
Step 5: Weed Barrier Addition (Optional)
To avoid the growth of weeds and other vegetation in the future, you can place any barrier before placing the fake grass. A wide range of geotextile sheets or barriers is also available in the market that not only prevent the weed’s growth but also overcome the penetration of earthworms. Because geotextile sheets are manufactured with tightly woven patterns of polypropylene or polyester, so better to add it for additional benefits.
Read Also: Clean And Maintain Artificial Grass
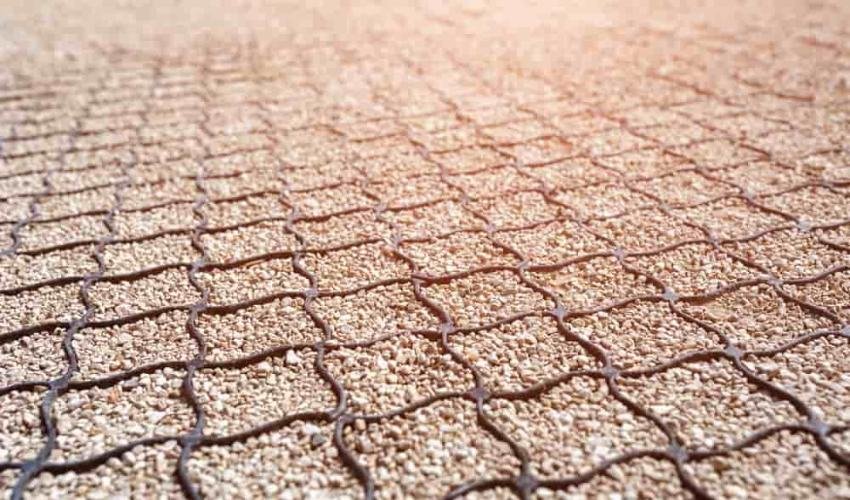
Step 6: Placement Of Base Materials
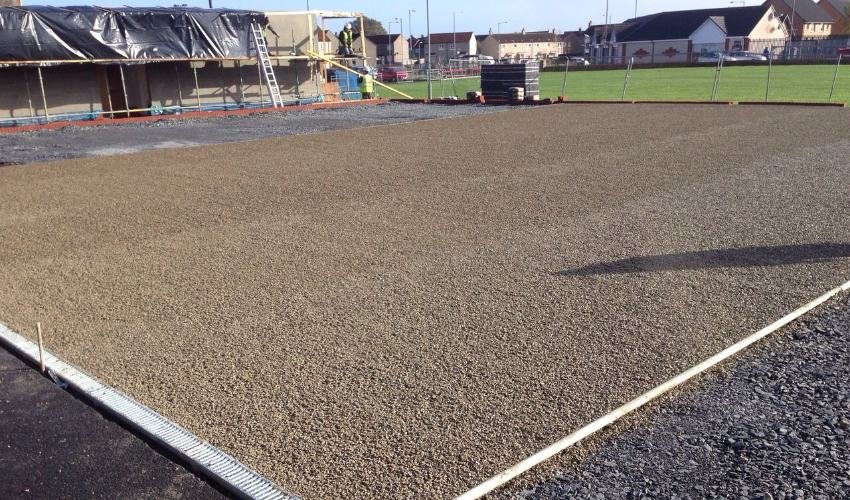
The next step is to place a layer of base materials over the geotextile or weed barrier. The base layer usually contains multiple ingredients such as sand, gravel, crushed rock, granite, and asphalt. Add this base material to the dig-out area with 3-4 inches of thickness. The thickness of this material is directly linked to the drainage and slumping. For quantity of material, you need to add at least 1 cubic yard per 100 square feet. For hard or concrete surfaces, you don’t need to add base material, you can place a leveling compound or rubber pad.
Step 7: Moisten The Base Materials
After placing the base material on the floor surface, you should grade it by using the landscaping rake. In addition, you should also make a slope towards the drainage system that can direct the flow of water. To moisten the base material, sprinkle the water over it with the help of a garden hose. Make sure that water does not come up above the material. After lubrication, use a hand tamp, plate compactor, or roller compactor to compact or level the material.
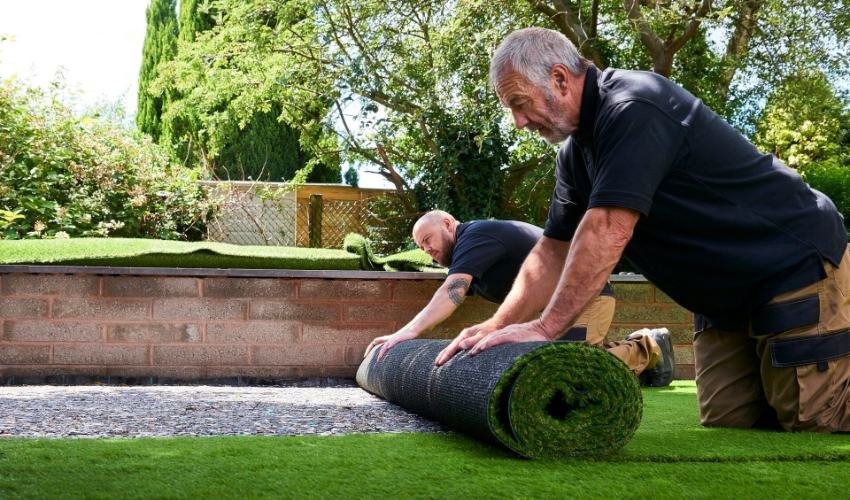
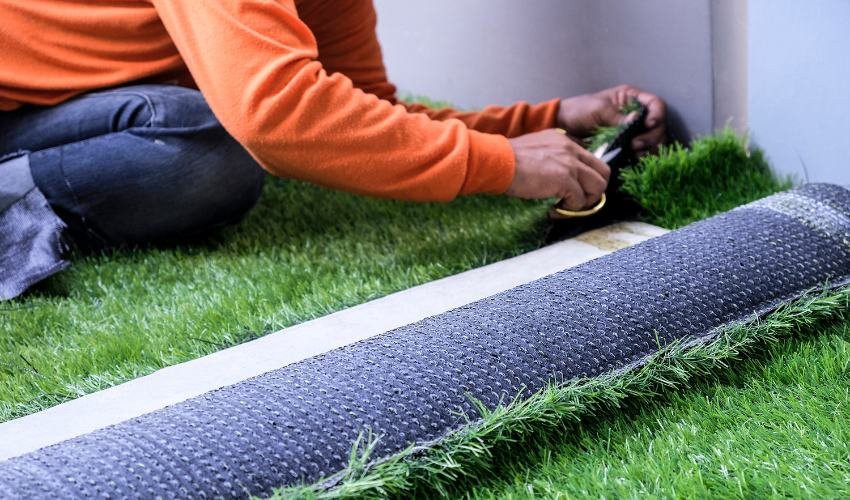
Step 8: Roll Out The Fake Grass On Side
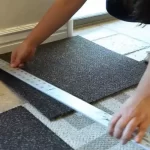
In this step, unroll the rolled carpet to make its surface smooth and plain. Because after transportation, this takes a few hours to completely restore its shape. Before placing the grass on the base layer, confirm that it is completely dried and compacted. Before placing the carpet, measure the accurate dimensions of your floor surface with the aid of a tape measure. Start laying from one side with accuracy and stretch the carpet surface for exact placement.
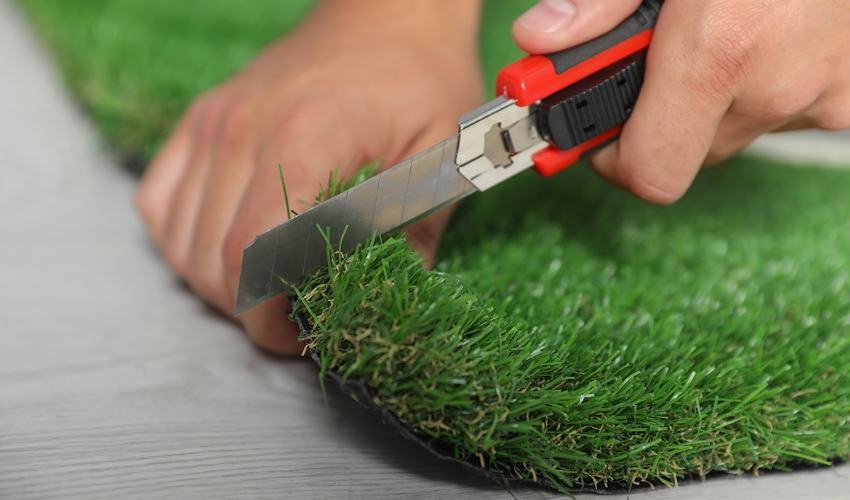
Step 9: Cutting Of Excessive Blades From Sides
Sometimes, the carpet surface has excessive blades that can affect the aesthetic of your synthetic grass. If your carpet has exposed some excessive blades or turfs, use a carpet cutter or putty knife to cut them. Before cutting any extra piece of carpet you should use a stretcher to stretch the carpet to identify the exact length. Make sure that cut-down areas have no extra gaps to avoid later-on troubles.
Read Also: Is Artificial Grass Good Or Bad For The Environment?
Step 10: Seam This Grass Where Required
After precisely placing the fake turf over the floor surface, seam it at joining points. Multiple techniques have been applied to seam the strips of carpet. The simple way is to line up two opposite strips and then fold back. Place the seaming material on the base layer and then again turn the edges back to their position.
Step 11: Addition Of Infill Material & Fasten At Ends
The last step is to add infill material and fasten the carpet at the periphery with nails or screws. The addition of infill materials can enhance the weight of the carpet, allow the blades to stand, and provide a cushioning effect. The silica sand, back crumb, or copper slag can also be used as infill material for synthetic turfs.
Wrapping Up!
To wrap up this article, we can say that the installation of artificial grass is not a simple DIY project, it requires precise knowledge about materials and tools. Grass Carpet has unlocked all the necessary steps to install synthetic grass through a DIY project. By implementing all the aforementioned steps and techniques, you can surely accomplish this project with accuracy.