Carpets are an essential floor covering element for your place’s interior decoration, providing enormous decorative and functional attributes. Installation and removal of carpet comes with an ideal purchase of new carpet. People look for DIY carpet installation will need to cut carpet to fit the dimensions of their rooms.
Moreover, for the installation of new carpets, you’ll need to remove the old ones from the existing floor surface. DIY cutting of carpet for installation and removal will provide you with saving a lot of money. The process of wall to wall carpets installation can be challenging for beginners, so, we’ve prepared a comprehensive guide for DIYers.
Tutorial Guide To Cut Carpet For Installation And Removal
First of all, learn how to cut carpets for installation purposes.
Steps To Cut Carpet For Installing Them On Floors
Grab all the tools and materials handy for cutting carpets for installations.

What Tool And Materials You’ll Need For Installation?
- Measuring Tape
- Pencil and Straightedge
- Chalk Line
- A Sharp Utility Knife
- Carpet Seam Roller And Tape
- Any Heavy Objects
- Carpet Seam Iron
- Scrap Board
- Strip of Plywood
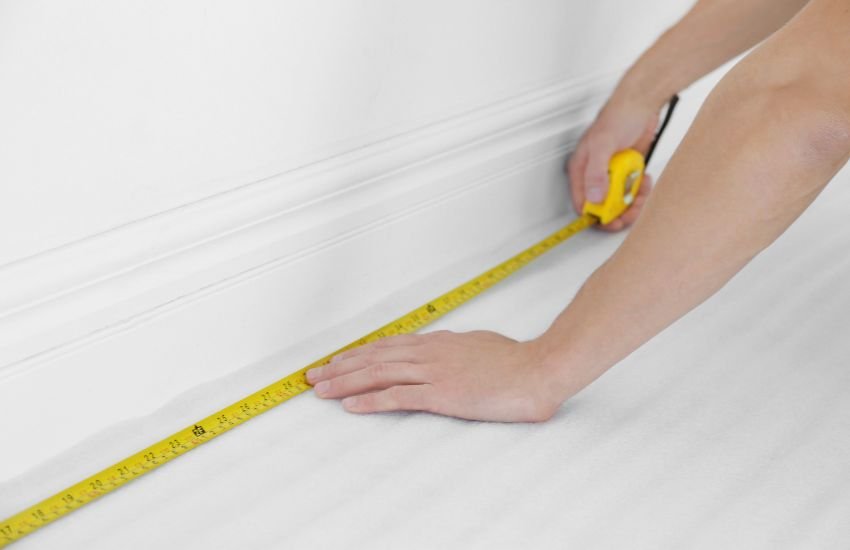
1. Measure Your Room
Before cutting your newly purchased carpet tiles to fit the accurate dimensions of your rooms, you’ll need to measure your space. Use the tape measure to get accurate details about the carpet size to be installed. You can note down the length and width on a piece of paper to skip flaws.
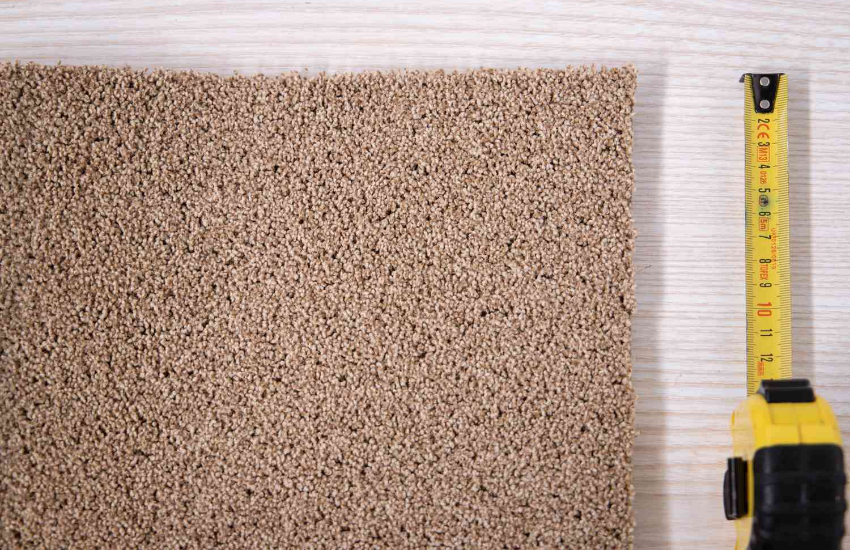
2. Mark Line From Backside
In the next step, roll back your carpet and measure it using the measuring tape. When measuring from the backside, leave at least one inch from the outer edge and mark the chalk line at a distance of the required carpet size for cutting. Whether you want to cut your carpet in length or width, ensure that you mark the chalk line for smooth cutting.
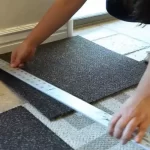
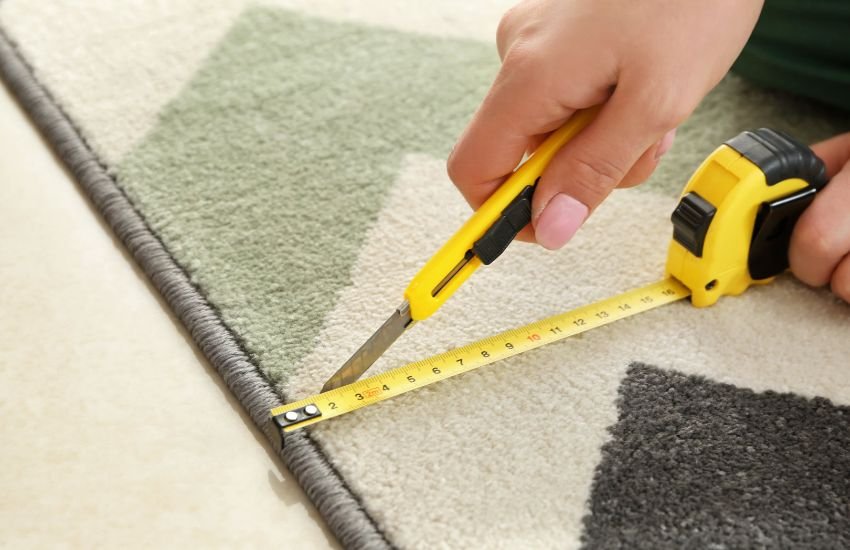
3. Cut The Carpet To Size
There comes the cutting process for a perfect fit for any space. Take a scrapboard or strip of plywood to place your carpet for cutting purposes. By placing the straightedge across the snapped chalk line, start cutting your carpet using a sharp utility knife or blade from the back side.
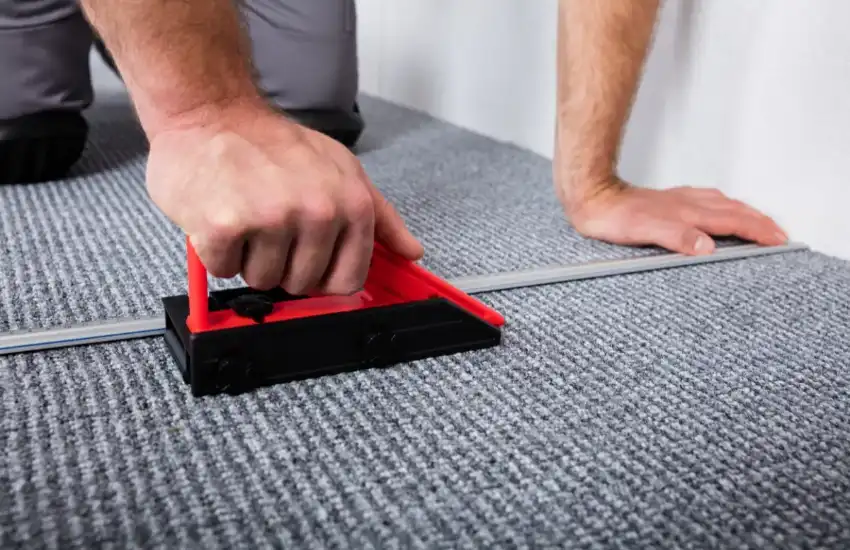
4. Cut The Second Edge
After cutting down the single thread line from the backing, flip your carpet and place the cut pieces over each other. Ensuring that the seams are not visible, place a straightedge over the carpet and slice the carpet to cut the remaining threads with perfection.

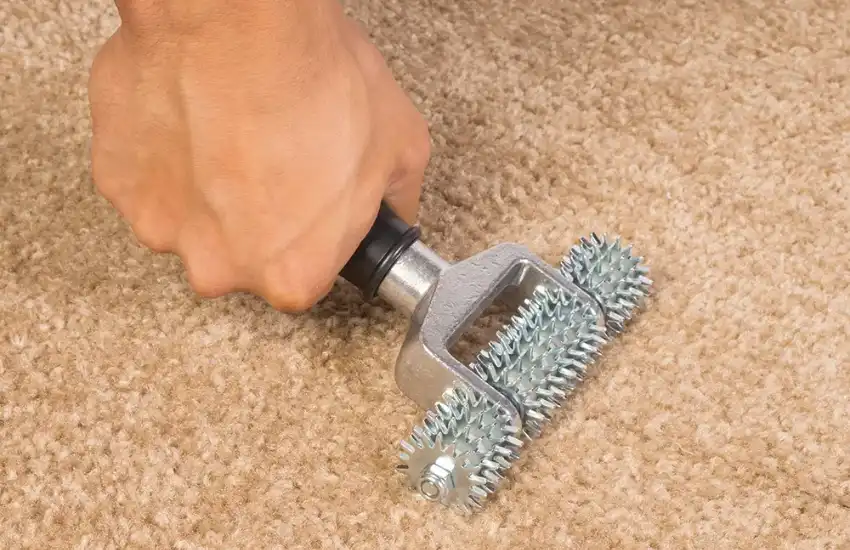
5. Position Seaming Tape And Iron
After cutting, you’ll need to seam the cut edges to restrict the threads from damage or shedding. Place seaming tape, facing the adhesive side upward, and lay out the tape along the entire carpet length. Then, butt the edges while keeping the seam tight. Heat the tape using an iron for about two minutes to activate the adhesive on the seam tape.
6. Join And Complete The Seam
When moving the iron across the tape, keep pressing the carpet piece firmly. When moving down roll over the joined seam using a seam roller to ensure that they lie flat along. After that, place some heavy objects like books to hold the carpet in place until the adhesive perfectly sets in. You will get a carpeted surface with hidden seams and well-maintained pile height.
Steps To Cut Carpet For Removal
Here’s the detailed process to cut and remove old carpet.

What Tools And Material You’ll Need For Removal?
To cut the carpet for the removal process, gather these essential tools and materials.
- Utility Work Gloves
- Pliers And Pry Bar
- Floor Scraper
- Quality Broom
- A Vacuum
- Duct tape
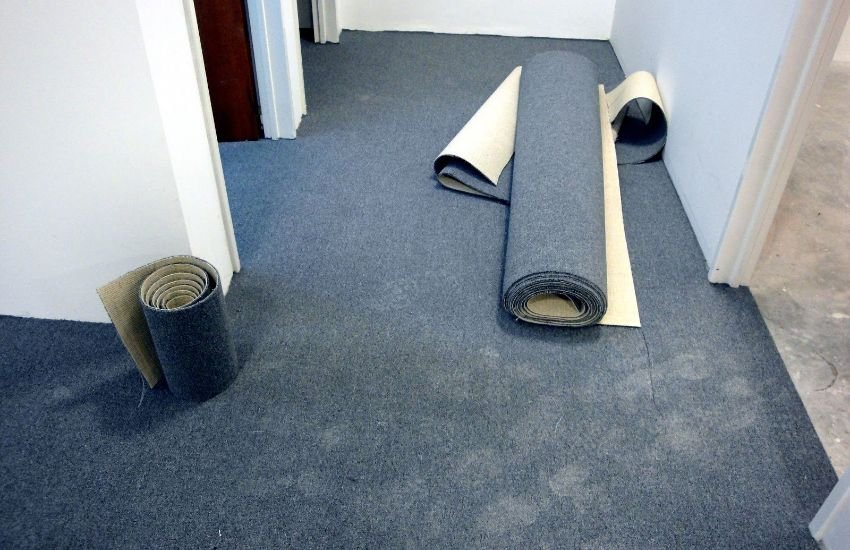
1. Pull Up Your Carpet
Before you start pulling up your installed carpet, make sure to wear safety gloves for security purposes. Carpets can be tacked down too hardly using quality adhesive. The carpets will have no loose edges and need to make a hole to pull up.

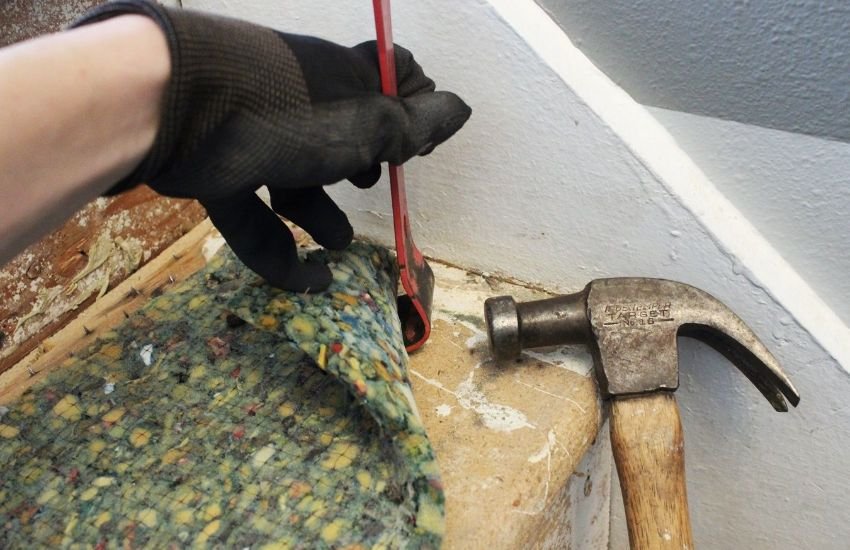
2. Use A Utility Knife
You can cut a hole of about 4 inches long so that your hand can fit in to lift off the carpet from the floor. You can use a pry bar that will help in the smooth lifting of the carpet from the edges. Using a utility knife, you can remove the carpet tack stripes.

3. Start Cutting The Carpet
While holding the carpet up, you can cut down a large portion. By pulling up and keeping the segments small, cut the carpet pieces in long stripes for ease.

4. Remove All The Sections
To remove the left edges of carpets from the ends, you can use the pliers. Using these pliers, you can remove all the remaining sections from edges and corners. Detach all the carpet pieces along the walls and be considerate about the nails sticking along.
5. Remove Tack Strips And Clean Floors
A floor scrapper can be used to remove the tack strips. By sliding the scraper beneath strips and popping, you can pull them off from the floors. Once you pull up the carpet, make sure to clean all the floors. Use a soft broom or vacuum cleaner to remove all the dust and debris.
To Sum Up!
Carpet installation on floors can be tricky for Diyers and beginners because you have to consider various aspects. For both carpet removal and installations, you’ll need to grab all the essential tools and materials to get the accurate dimensions and ensure precision.
To cut the carpet for installation, measure, and mark the line with chalk at the carpet backing, and use a utility knife for cutting. On the other hand, for removal purposes, you will need to pull off the carpet using a pry bar. For the removal of tack strips, you can use a sharp utility knife. When using any equipment for carpet removal and installation, be cautious to use hand gloves for safety purposes.