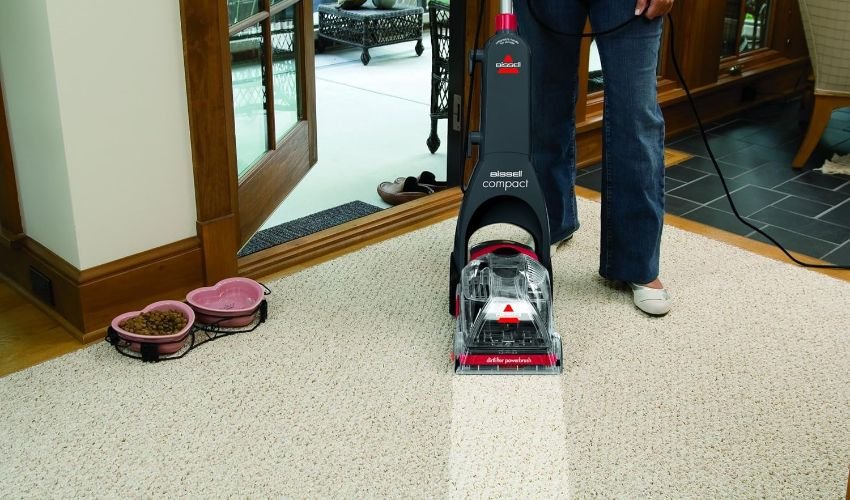
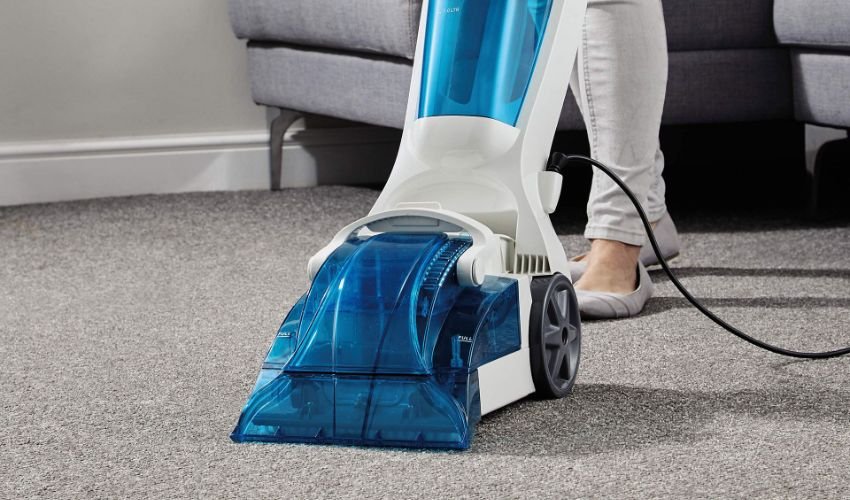
Do you want regular cleaning, maintenance, and repair for your Bissell proheat carpet cleaner? You must be thinking of taking it to an expert for this purpose just by thinking it is hard to disassemble. But don’t waste your time and money, as this article will help you by providing an easy and quick step-by-step guide.
Why is it Necessary to Take Bissell Proheat Carpet Cleaner?

It is essential to take your Bissell Proheat carpet cleaner apart for maintenance, cleaning, and repair.
- An unmaintained cleaner has dust, debris, and pet hair in its nozzles, hoses, and other components. Taking it apart will help you to make it dust-free.
- For the time being, the brush roll could have a large amount of threads and hair, which can reduce the overall effectiveness of the cleaner.
- Disassembling it will help to make the water tank free from foul odor, thus limiting mold and mildew.
- Sometimes, you need to repair the broken or damaged parts of the cleaner by taking it apart.
- To resolve the issues of internal components of cleaner like motors, it is essential to disassemble them.
- The disassembling process helps you to enhance the efficiency of the motor present in the cleaner.
What You’ll Need
Below are some essential tools and materials to take cleaner apart.
- Screwdriver
- Needle-Nose plier
- Container for screws & Small Parts
- Old Cloth or towel
Step-By-Step Guide
Step 1: Prepare The Cleaner
Before diving into a direct disassembling process, prepare your cleaner first. You will not want yourself to be in a hospital because of any negligence. Don’t put your life in danger; unplug the cleaner first and ensure it is turned off. Put it on a surface large enough to disassemble it easily.
Step 2: Remove Tanks
It contains upper and lower tanks, after turning it off, remove the upper tank by pulling it off and pushing the latch for the lower tank. The latch is a fastener that joins two surfaces. There is dirty liquid in these tanks; remove it in a container to protect your carpet from liquid spills.
Step 3: Unwrap The Hoses & Nozzles

Now unwrap the hose by releasing the latch, remove the tools and accessories present in the tool caddy box of cleaner, and keep them in a container. With the help of a screwdriver, unfasten the screw that secures the brush roll and nozzle.
Step 4: Remove Belt Covers
After removing both brush roll and nozzle, take the belt cover off. These belts are not in every machine, but if your cleaner has them, remove them carefully using a screwdriver.
Step 5: Remove Dust

For regular maintenance, check the dust and debris; if present, remove them using a dry cloth or a brush.
Step 6: Reach the Inner Parts
With the help of a screw, remove the handle to reach the inner part of a cleaner. Once you’ve gained access to the internal components, check for dust and debris, ensuring a thorough cleaning. You can use a microfiber cloth or brush for this task. For the smooth functioning of the internal components, make sure to lubricate them with the recommended lubricant. This maintenance routine is essential for the longevity and performance of your cleaner, just as proper care is vital for maintaining the beauty and lifespan of carpets Dubai.
Step 7: Inspect Clogs & Damage
Check if the clogs or damage are present on the nozzles or hoses; if present, resolve them.
Step 8: Reassemble Cleaner
After proper inspection, reassemble the cleaner by reversing these steps. Reattach the handle, tighten the screw, and reattach tanks, nozzles and hoses.
Step 9: Take a Quick Test
Now, take a quick test after reassembling by plugging in the cleaner on a small portion of the carpet.
Conclusion
For proper cleaning, repair, and maintenance, it is necessary to take apart your Bissell Proheat carpet cleaner. Use effective methods and right tools to avoid later-on troubles. Maintenance is not as tricky as people think but it is necessary to keep yourself safe by ensuring the cleaner is not plugged in. Follow the above steps and disassemble your carpet cleaner without wasting money by taking it to an expert.