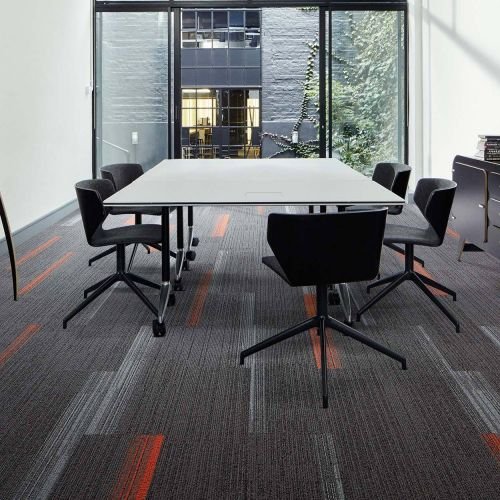
We Provide Fast And Budget-friendly Carpet Installations In Dubai
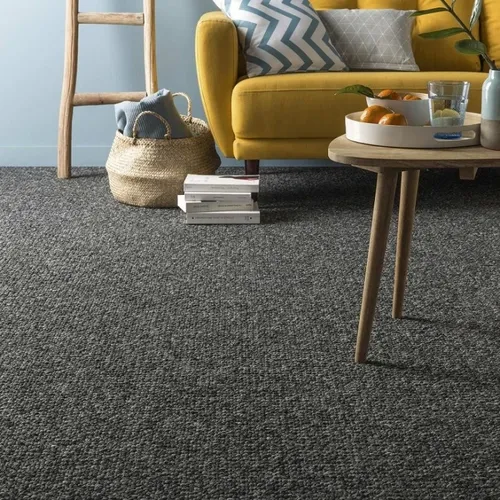
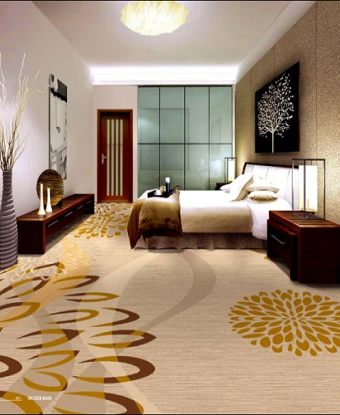
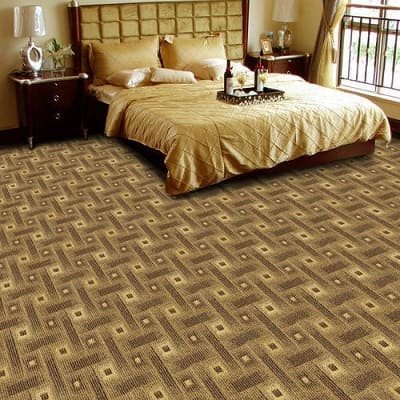
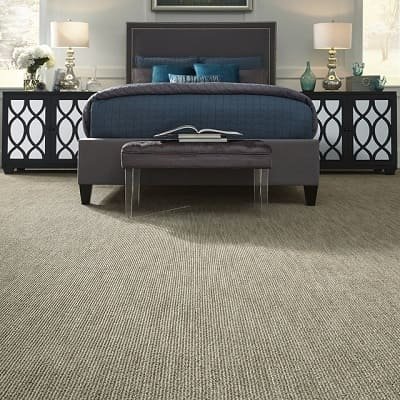
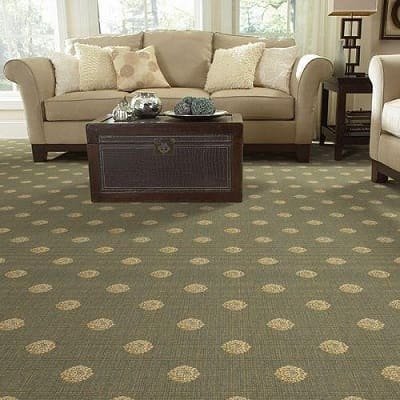
Our carpet and rug fitting services are the best home improvements you can ever get. Besides, you also won’t need high-end and expensive hard floorings because of these treatments. So, if you wish to make your interiors more cozy, attractive, and most importantly energy-efficient, do choose us for carpet installations in Dubai.
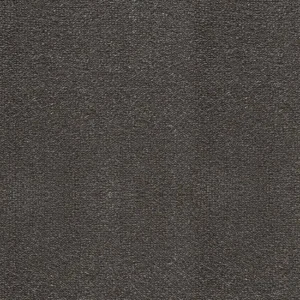
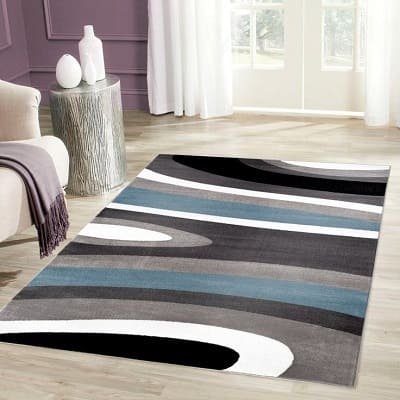
In addition to installations, we also provide floor measurements, rugs and carpets samples, subfloor treatments, and customizations to ensure offering the most perfect-fitting soft floorings for your homes. Request free quotes today and get instant servicing in the comfort of your home.