
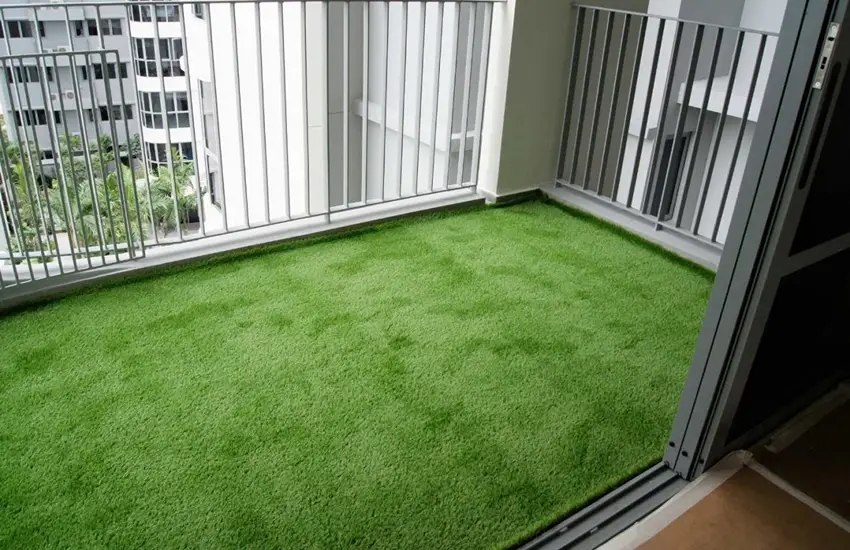


Artificial grass is a simple way to add greenery to a balcony without the regular mowing, watering, and trimming required by natural grass. It creates a softer surface for relaxing, reading, enjoying your morning coffee, or creating a small outdoor retreat.
Installing artificial grass on a balcony is easier when the floor is clean, the measurements are accurate, and the drainage system works properly. You also need suitable turf backing and a fixing method compatible with your balcony surface.
This guide explains how to install artificial grass on a balcony, which materials you need, and how to keep the finished surface clean.
Benefits of Installing Artificial Grass on a Balcony
Artificial grass helps turn a plain concrete or tiled balcony into a greener, more inviting space. It suits apartments, rental properties, and homes with limited outdoor areas.
Here are some key benefits:
- Low maintenance: No mowing or regular irrigation is needed. Occasional brushing and cleaning keep the surface tidy.
- Year-round greenery: UV-resistant turf helps maintain its colour during outdoor exposure.
- Comfortable surface: Suitable turf creates a softer surface for walking and relaxing.
- Flexible design: Combine artificial grass with outdoor furniture, planters, deck tiles, or decorative lighting.
- Water savings: Artificial turf does not need the regular watering required by natural grass.
If you are planning a balcony makeover, explore artificial grass in Dubai to compare turf styles and pile heights for your space.
What You Need to Install Artificial Grass on a Balcony
Prepare your tools and materials before starting the installation. The exact requirements depend on the balcony surface, drainage arrangement, and type of turf you choose.
You will generally need:
- Artificial grass with suitable backing
- Measuring tape
- Marker or chalk
- Sharp utility knife or turf cutter
- Straightedge
- Broom or stiff brush
- Outdoor-rated adhesive or joining tape, if required
- Suitable drainage mat or underlay, if needed
- Cleaning cloth and suitable surface cleaner
Choose a fixing method designed for outdoor conditions and compatible with your balcony floor and turf backing. Avoid permanent adhesives if you rent the property or need to preserve the original tiles.
Step 1: Measure Your Balcony
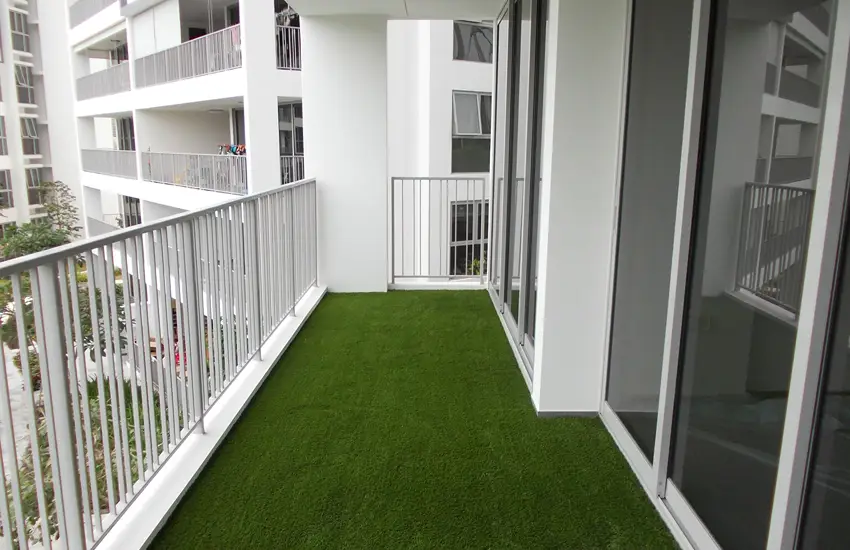
Start by measuring the length and width of the balcony. Multiply these measurements to estimate the total floor area.
For example, a balcony measuring 3 metres long and 2 metres wide has a floor area of 6 square metres.
Measure around corners, columns, drains, door tracks, and built-in fixtures separately. Irregular balconies often need several cuts to achieve a neat fit.
Buy enough turf to cover the measured area, allowing for trimming and pattern alignment. Check the roll width before ordering to reduce unnecessary joints.
Step 2: Clean and Inspect the Floor
Remove furniture, planters, loose dirt, leaves, and other debris. Sweep the floor thoroughly and clean away grease or stubborn marks.
Inspect the surface for cracks, loose tiles, uneven sections, and areas where water collects. Repair suitable defects before laying the turf.
The floor should be clean, stable, and dry before you begin fitting the grass. Do not cover existing drainage outlets or gaps designed to carry rainwater away.
If your balcony has persistent water pooling, resolve the drainage problem before installation.
Step 3: Check Drainage
Drainage is one of the most important parts of balcony artificial grass installation. Rainwater and cleaning water need a clear route off the surface.
Choose turf with a perforated or otherwise suitable drainage backing. Check whether your balcony’s existing drainage outlets remain accessible after installation.
A drainage mat or suitable underlay might help where the surface design requires additional water flow beneath the turf. However, the correct setup depends on the balcony’s construction and drainage arrangement.
Do not drill into the balcony floor or create new drainage holes without professional approval. This could damage waterproofing or affect the building structure.
For more information about the installation process, read our guide to installing artificial turf step by step.
Step 4: Choose the Right Artificial Grass
Select turf based on your balcony’s size, sunlight exposure, intended use, and preferred appearance.
Consider these factors before buying:
Pile height: Shorter grass often suits compact balconies, dining areas, and spaces with outdoor furniture. Taller grass creates a fuller appearance for decorative lounging areas.
Backing and drainage: Select backing suitable for outdoor use and ensure water drains through the installed system.
Colour and texture: Compare different shades of green and blade shapes to match your balcony furniture and planters.
Durability: Look for UV-resistant fibres designed for outdoor exposure.
For example, Gleneagles 35mm artificial grass is listed for balconies, gardens, and terraces. Its 35 mm pile provides a fuller appearance than shorter decorative turf.
Step 5: Position and Cut the Grass
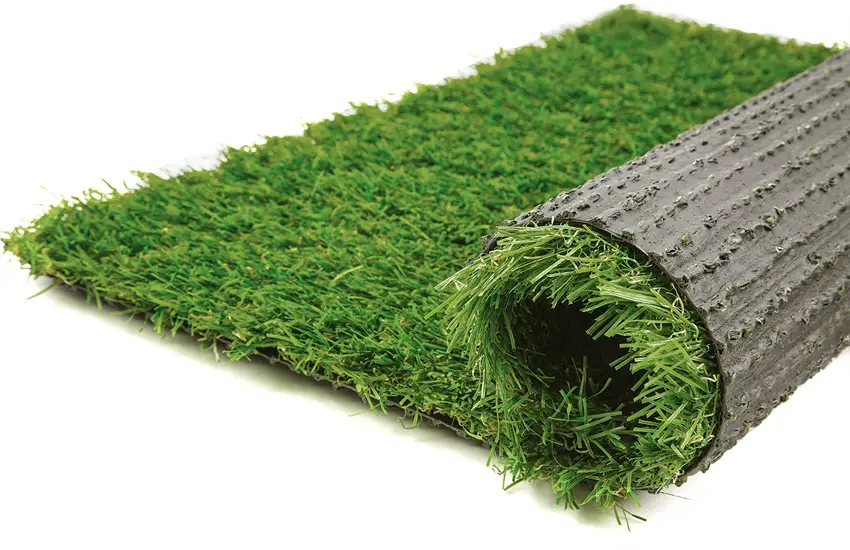
Roll out the artificial grass over the balcony floor. Let it settle before cutting, following the product manufacturer’s instructions.
Position the turf so the grass blades face the same direction across the entire area. Consistent blade direction helps create a more uniform appearance.
Use a sharp utility knife to trim the edges. Cut carefully around columns, corners, door tracks, and fixed fixtures. Make small adjustments rather than removing too much material in one cut.
If you need more than one piece, align the edges carefully. Keep the pile direction consistent and follow the manufacturer’s instructions for joining the backing.
Step 6: Secure the Artificial Grass
Once the turf fits correctly, choose a suitable method to keep it in place.
For some balconies, a properly sized turf piece with a compatible non-slip backing is sufficient. Other installations require outdoor-rated adhesive, joining tape, or a suitable perimeter fixing system.
Follow the turf manufacturer’s recommendations and check compatibility with your floor surface. Apply adhesive only where required, rather than spreading it across drainage paths.
Avoid fixing methods that block drainage outlets or damage the balcony’s waterproofing layer. If you live in a rented apartment, check your tenancy terms before using permanent adhesives.
For a more complex balcony or a surface with drainage challenges, consider professional artificial grass installation in Dubai.
Step 7: Brush and Finish the Surface
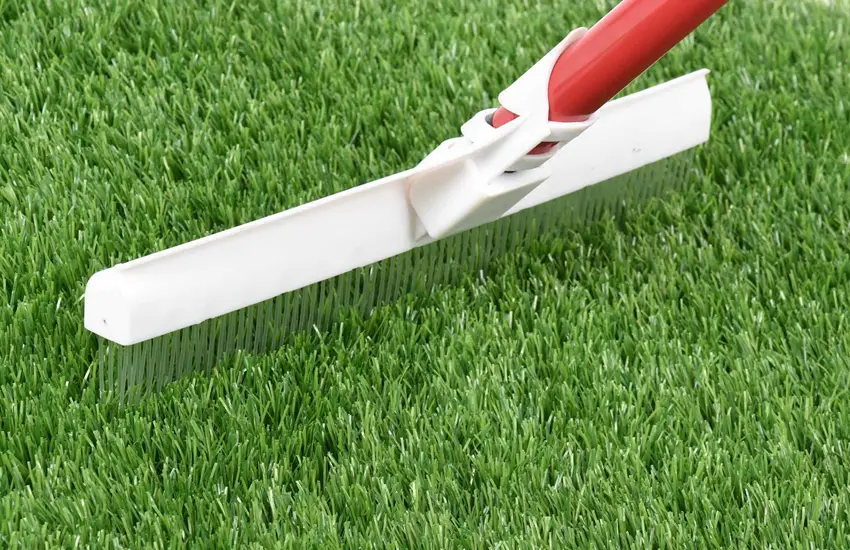
After securing the grass, brush the blades against their natural direction with a stiff brush suitable for the product. This helps the fibres stand upright and gives the surface a more even appearance.
Check the edges, corners, joins, and door openings. Make sure the turf does not obstruct doors, drainage outlets, or access points.
Remove loose fibres and installation debris. If you used adhesive, follow its curing instructions before placing furniture on the surface.
Arrange your outdoor chairs, small table, and planters after the installation is ready for use.
Common Mistakes to Avoid
Avoid these errors when installing artificial grass on a balcony:
- Ignoring drainage: Water trapped beneath the turf leads to cleaning problems and standing water.
- Skipping surface preparation: Dirt, loose tiles, and uneven sections affect the finished appearance.
- Choosing unsuitable backing: Indoor turf without suitable drainage features might not perform well outdoors.
- Cutting too much material: Measure twice and trim gradually around edges and fixtures.
- Blocking door tracks: Leave enough clearance for balcony doors to open and close properly.
- Using incompatible adhesive: Incorrect products might damage the flooring or fail under outdoor conditions.
- Ignoring building restrictions: Check balcony rules before drilling, making permanent changes, or modifying drainage.
Should You Install Balcony Artificial Grass Yourself or Hire a Professional?
DIY installation suits simple, rectangular balconies with a clean, level surface and accessible drainage. Accurate measuring and careful cutting help you achieve a neat result.
Professional installation is worth considering for irregular balconies, multiple turf sections, drainage issues, complex edges, or surfaces that need special preparation.
An installer can assess the floor, recommend suitable backing, select an appropriate fixing method, and finish the edges and joins. This helps reduce common fitting problems.
Grass Carpet provides artificial grass supply and installation services for balconies and other outdoor spaces across Dubai.
Final Thoughts
Installing artificial grass on a balcony starts with accurate measurements, proper surface preparation, and effective drainage. Choose turf designed for outdoor use, cut it carefully, and secure it with a method suited to the floor.
Regular brushing and cleaning help maintain the finished appearance. For complicated layouts or drainage concerns, professional installation offers extra support.
Ready to upgrade your balcony? Explore balcony artificial grass options from Grass Carpet and choose a style suited to your space.